Newtrawlerowner
Senior Member
- Joined
- Nov 16, 2019
- Messages
- 347
- Location
- USA
- Vessel Name
- PartnerShip II
- Vessel Make
- 2003 Mainship 400
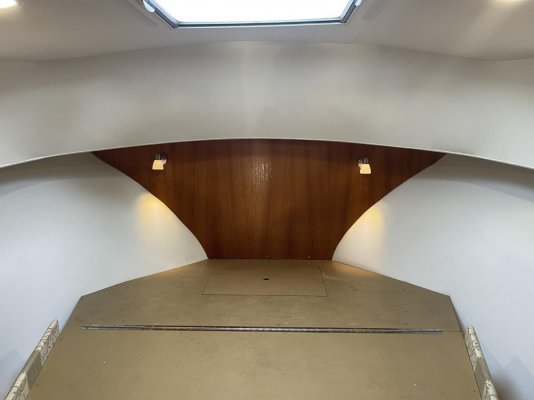
I finally finished replacing the vinyl on all surfaces in the forward V-birth. This project was more difficult than I initially thought, but that seems to be the way it is with anything boat.
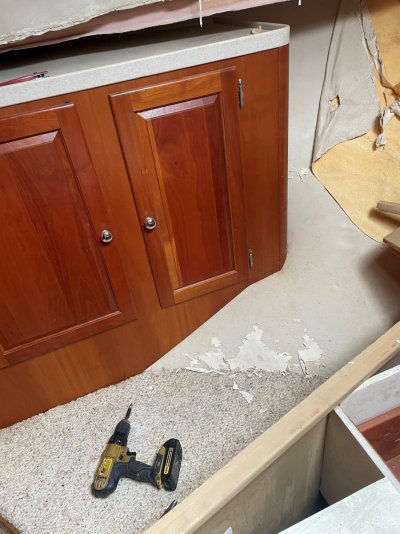
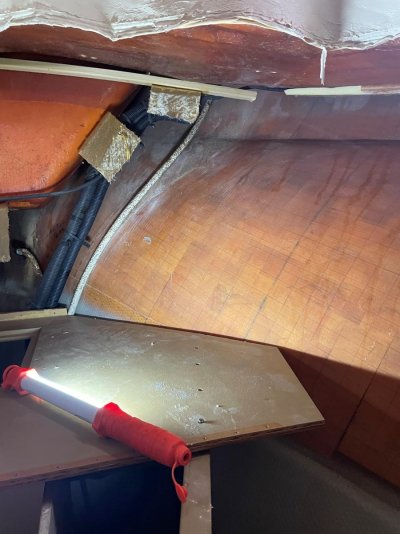
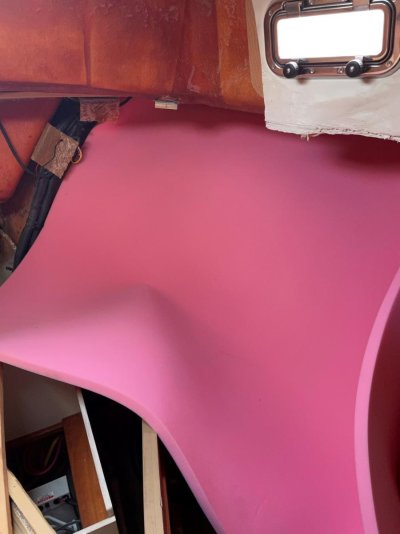
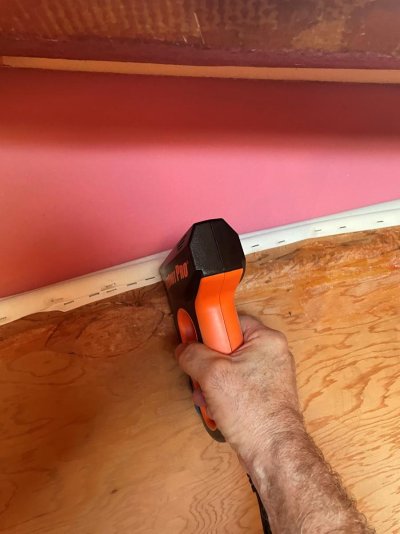
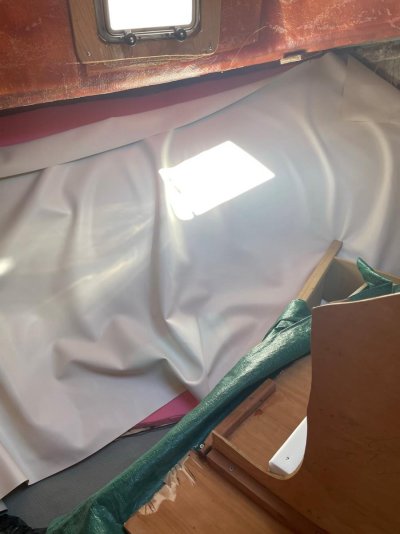
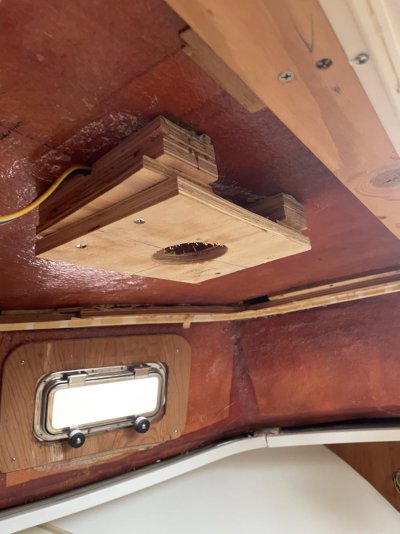
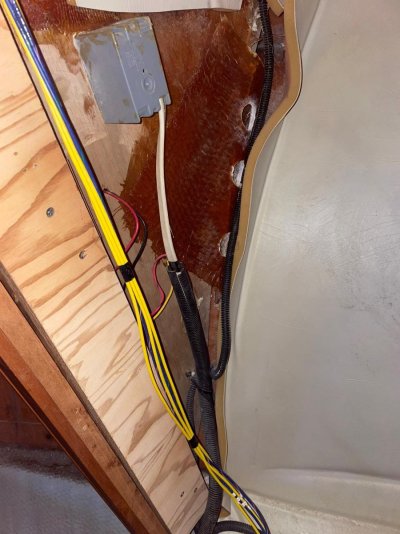
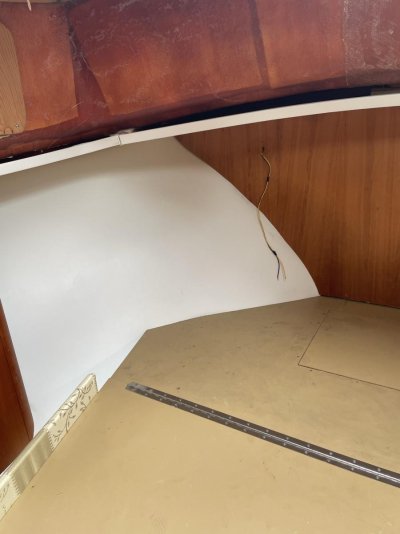
I started by removing the 3 plywood horizontal panels that are above the port hanging locker an run all the way to the SB side. Once I got those down I removed the port locker and disassembled the starboard interior locker to start removing the vinyl. This was probably the most difficult because of the way the builder stapled the vinyl and foam to the back sides of every panel. Removing the headboard was next. I then glued down strips of wood to staple the new material to. Following the curve of the hull was challenging but I used multiple strips of 1/4 wood and it worked well. Then installed the new foam. I probably should have made a pattern first. I stapled the top of the vinyl to the edge of the horizontal plywood piece, pushed that into place and then stapled the vinyl and foam to the wood strips. Once that was done on both sides I covered the horizontal plywood pieces and installed those. The one valuable piece of advise I would make is to fit these plywood pieces back in place BEFORE covering them. I did fit them and found that the middle piece for some reason did nit fit the same as when I removed it. But once that was done everything went back together nicely. I then removed the headliner, installed plywood panels to mount new lights to and reinstalled. The last piece of vinyl that goes between the horizontal plywood and the headliner was the most difficult. This piece also goes around the porthole windows. I included several pictures so you can see the progress.
I started by removing the 3 plywood horizontal panels that are above the port hanging locker an run all the way to the SB side. Once I got those down I removed the port locker and disassembled the starboard interior locker to start removing the vinyl. This was probably the most difficult because of the way the builder stapled the vinyl and foam to the back sides of every panel. Removing the headboard was next. I then glued down strips of wood to staple the new material to. Following the curve of the hull was challenging but I used multiple strips of 1/4 wood and it worked well. Then installed the new foam. I probably should have made a pattern first. I stapled the top of the vinyl to the edge of the horizontal plywood piece, pushed that into place and then stapled the vinyl and foam to the wood strips. Once that was done on both sides I covered the horizontal plywood pieces and installed those. The one valuable piece of advise I would make is to fit these plywood pieces back in place BEFORE covering them. I did fit them and found that the middle piece for some reason did nit fit the same as when I removed it. But once that was done everything went back together nicely. I then removed the headliner, installed plywood panels to mount new lights to and reinstalled. The last piece of vinyl that goes between the horizontal plywood and the headliner was the most difficult. This piece also goes around the porthole windows. I included several pictures so you can see the progress.
Attachments
-
 Forward V-Birth1.jpg151.5 KB · Views: 45
 -
 Forward V-Birth2.jpg130.8 KB · Views: 39
 -
 Forward V-Birth4.jpg69.1 KB · Views: 38
 -
 Forward V-Birth9.jpg91.9 KB · Views: 42
 -
 Forward V-Birth11.jpg81.2 KB · Views: 39
 -
 Port new ceiling light mount.jpg102.2 KB · Views: 43
 -
 Forward V-Birth12.jpg135.4 KB · Views: 39
 -
 Port new vinyl.jpg72.6 KB · Views: 44
 -
 Forward Birth Headliner.jpg59 KB · Views: 45
 -
 Forward Birth Headliner3.jpg57.7 KB · Views: 44